
Posts Tagged: photoshop
How Adobe Stock integrates into Photoshop and Creative Cloud?
Photoshop is one of the most beloved and popular programs when it comes to editing images. It has remained one of Adobe’s flagship programs for several years, earning itself a permanent place in the programs of digital creation around the world.
Cloud computing made a compelling case as a new way of doing business in almost every online industry. Adobe hopped on the bandwagon and is now offering their most popular apps in affordable monthly subscriptions on their own version that they call Creative Cloud. Creative Cloud serves as a baseline for Adobe’s offerings. It is a way for customers to keep all of their work synced across all their devices – computer and tablet alike. Make a change on your computer to an image, open the image on a tablet and you’ll see the saved change in real time. That’s just one of the benefits.
The other major advantage of Adobe’s Creative Cloud is the cost. Previously, Photoshop could easily cost you a thousand dollars or more up front. In this new business model, you sacrifice the ability to own a copy of Photoshop outright in favor of paying a monthly fee. Since the program is already on the cloud, every update is automatically integrated and delivered directly to the program. Your program never goes out of date, and you never lose access to your program. Likewise, there are no discs or other physical media with which to store (or lose) your programs. Everything is online.
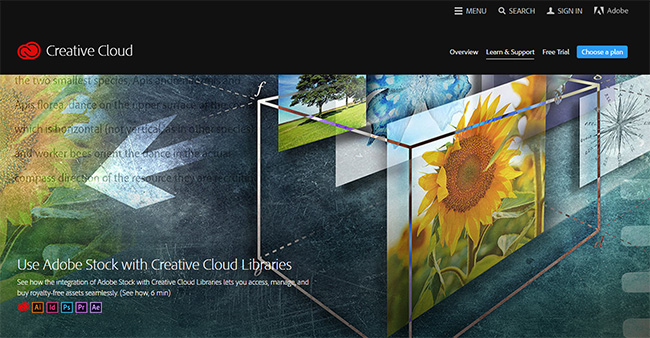
Recently, Adobe offered a brand-new service called Adobe Stock (click here for review). On the outside, it appears to be nothing more than your typical stock photo library service. On the inside, however, the experience is entirely different than what people normally have it come to expect from such services. The stock photo industry is something that has been traditionally used by advertisers and marketers to convey their message. The problem is that the people who use Adobe’s programs are not primarily made up of marketers. They are made up of creative professionals.
Adobe saw the need for a stock photo service to do two things. One, these creative professionals needed a stock photo service that would cater to them and not the traditional marketer. Two, if Adobe were to offer it, Adobe would need to integrate it within each and every one of those programs. It is this integration that makes the Adobe offering so lucrative and enticing.
If we took Photoshop for example, you might expect to have to import either a photo you took or a photo from another source, like stock images, and use that as raw source material for you to edit in Photoshop. That is no longer the case. Now you can open Adobe Stock from within Photoshop, browse for, search, download, edit the image from within Photoshop, and then license and save the image without ever leaving the program. This capability was not previously available and is not currently available for any other stock photo imaging service.
So how do you do it? The first thing I want assume is that you have a Creative Cloud account with access to Photoshop. From there, the process is easy.
1. Open Photoshop CC and Open Your Library
Your first step is open Photoshop CC. The letters CC, as you know, stand for Creative Cloud. From within Photoshop, you need to find an open your Library panel. You can find this from the Windows toolbar in Photoshop, and then selecting either “Libraries” or “CC Libraries.” This opens your Library panel.
2. Open Adobe Stock from within the Library Panel
The bottom half your library talks about Adobe Stock. You can either click on the link that says, “Search Millions of Photos at Adobe Stock,” or you can click on the Adobe Stock icon at the bottom. It is the one that has the letters “St” enclosed within a square. This opens the Adobe Stock website. Your cursor will automatically go to the search term box, allowing you to enter your search term immediately to cut down on time.
3. Enter Your Search Terms

This next part is pretty basic. This is where you enter your search terms and press enter. Your search query is sent to the Adobe Stock servers where it searches over 40 million high-quality photos, illustrations, and vector images relevant to the words you typed. Keep in mind that, at this point, you have not left Photoshop CC. Everything takes place from within the program.
Before you press enter, notice the options below the search bar. These options include three checkmark boxes that say Illustrations, Photos, and Vectors. Since the Adobe Stock library contains all three of these by default, you can choose to have the search results be filtered out so that only the images of your choice are delivered to you. For the most obvious example, if you’re specifically looking for a photo, then you would uncheck Illustrations and Vectors, leaving photos as the only option that is checked.
4. Browse through Possible Images
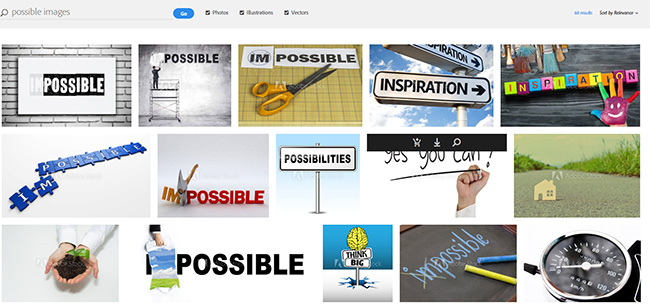
It is common for Adobe to return between 200,000 and 400,000 results for broad terms. The process is pretty basic as you browse the images, flipping from page to page until you find one that you like. If you can’t find what you’re looking for within a reasonable amount of time, you can always edit your criteria by editing the search term, modifying the content type – such as Illustrations and Vectors, or sorting by relevance filters.
When you hover over an image, you will see three icons appear in a strip towards the top of your image. The first one is a shopping basket, which allows you to download and purchase the image as is. The other one looks like an eye. Click on the eye and you’ll find that you can download a watermarked version of the photo and save that to your library. Because it is watermarked, you will not be charged for it. The third option looks like a magnifying glass. This tells Adobe Stock that you like the image, but it’s not quite what you’re looking for. As a result, Adobe Stock will find similar images in a new search and return them to you.
5. Select and Save Your Image

Once you find the image you’re looking for, save the image to your CC Libraries. This image is now available to all of the Adobe CC applications you may have across devices. When you save the image, click the Add New Library field and enter a new library name. When you have chosen a name for your library, click on the ‘+’ sign to add the image to the library. You will receive a visual confirmation on the screen when the image has successfully been saved to your library.
6. Find Your Image within Photoshop
Open your Libraries from within Photoshop to find your image. Now go back to your toolbar and select Libraries. The Library’s panel will appear, and from within it, you will see the name of the library that you just created. Click on the library name and you will see the image that you saved from Adobe Stock. All you need to do now is click and drag the image from the Library panel to the workspace within Photoshop.
7. Edit Your Image and Apply Your License
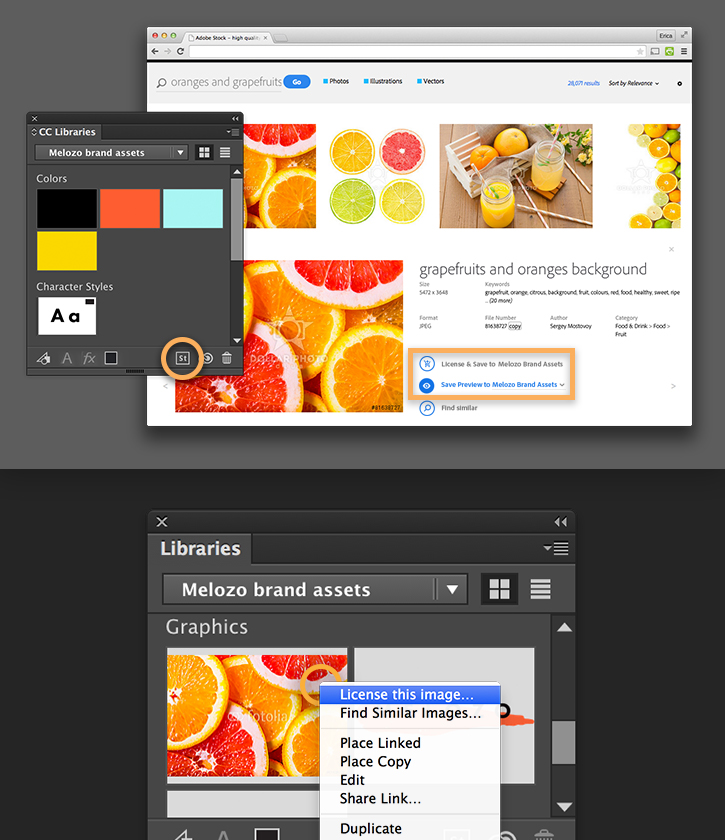
The image will appear as if you imported an image into Photoshop. All of the tools from within Photoshop are available in the image is ready for editing. This is where you do the bulk of the work on editing your new image. Edit to your heart’s content. You will be editing an example image without destroying the original image. This allows you to modify images without purchasing them – you just can’t save it until you buy it. When you’re finished and satisfied with your new image, move your cursor back to the Library panel and right-click on the original image within your library. Select the very first option that states, “License this image…” This allows you to pay for the image. If you haven’t already set up a payment plan on your Creative Cloud account, the program will now take you through the necessary steps to do so.
Adobe hit a home run with their new Adobe Stock offering. From here, you can select from over 40 million high-quality stock imagery to use as raw material from directly within Photoshop. You no longer need to go through the tedious process of logging into a competing stock imaging website, selecting and licensing your image, then saving it and importing it into Photoshop to edit. With other stock image services, you need to purchase the image just edit it. With Adobe Stock, you don’t need to do that. You can edit the image, and if you decide you don’t want it, you don’t have to pay for it. What you’re editing in Photoshop is considered a Smart Object before you ever purchase it. The watermarked version will remain in your library until you do purchase it.
In the past, half of the work you have on your plate consisted of you merely selecting an image. Using Photoshop was not the hard part. Selecting your image was. Adobe recognized this and decided to do what they can to make your job easier. Introducing Adobe Stock images.